These four questions are really about real-life performance and what happens after the install. Start with how the material holds up to everyday wear, spills, and cleaning. Then think about the most likely failure modes for that specific room; water, humidity, scratches, dents, staining, or slipping, so you choose for the conditions you actually have. Next, consider repairability and replacement ease, because a finish you can patch, refinish, or swap in sections often costs less over time than one that requires a full redo. Finally, sanity-check that the finish matches your lifestyle (kids, pets, entertaining, rental use, and maintenance tolerance) so the choice stays “easy to live with,” not just nice on day one.
Pitfalls to avoid: Choosing by appearance alone instead of lifecycle performance often leads to disappointment once daily wear shows up. Ignoring water exposure and slip risk by room type can create safety issues and premature failure. Relying on low first cost without a clear maintenance and replacement plan is how “budget” choices become the most expensive over time.
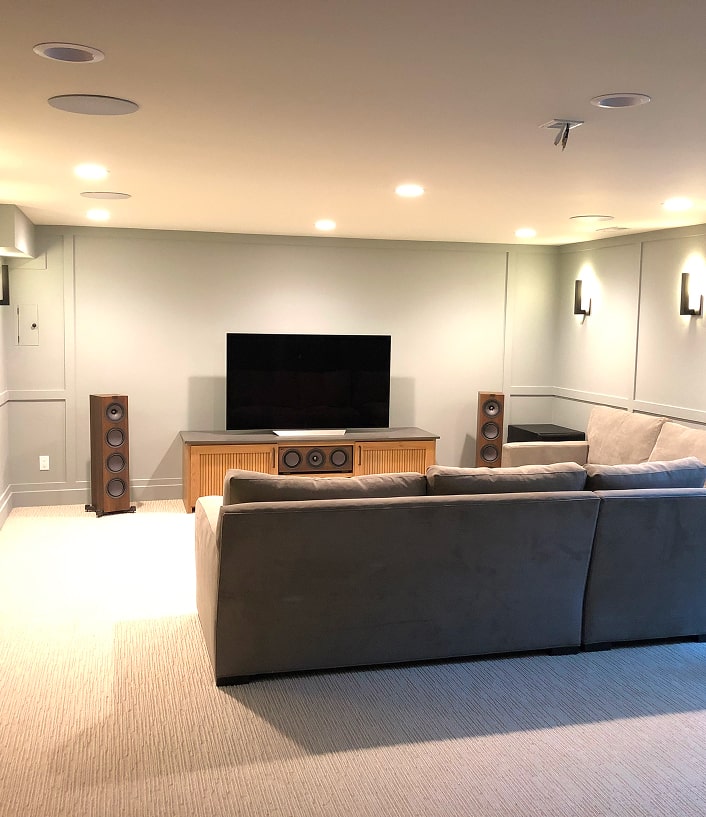
Design priorities to include: Keep finish consistency across connected areas so the home feels cohesive, but do not let matching finishes override performance needs in wet or high-traffic zones. In areas with water and humidity, prioritize water resistance and slip-conscious selections. When you have a choice, lean toward materials you can repair in place (spot-fix, refinish, replace a section) instead of ones that force a full tear-out, and remember: Choose materials for performance and repairability, not just the first price tag.
Planning guidance
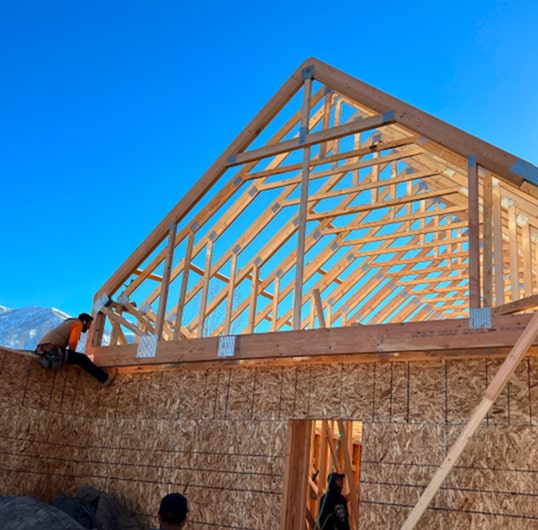
Materials are easiest to choose when you think in failure modes. Where will water sit, where will traffic be highest, and what will you clean most often. Then evaluate lifecycle value: repairability, replacement ease, and maintenance effort, not only first cost.
Practical next step
Before you choose finishes, write down your top “failure mode” risks by room (water, scratches, slipping, staining) and what you’ll do if they happen (spot-fix, refinish, replace a section). Put those assumptions into a one-page scope summary so contractors’ price the same durability targets and you can compare bids apples-to-apples. If you want a simple prompt visit our Joy Score Planning tool.
If you have questions, do not hesitate to talk with a professional. Set the terms of the conversation up front, and use a short scope review to confirm assumptions, city/county constraints, and sequencing. Asking for a bid does not mean you are committing to the project. Be fair with expectations and timeline requests because their time is valuable too.